In 1988 I built my first wardian case or orchidarium after moving to Houston, Texas. At that time I had a large collection of cool-growing miniatures and Masdevallias, and had to find some way of keeping them in hot, humid Houston. My inspiration came from an article in the March 1980, American Orchid Society Bulletin. That article was written by Joy and Ralph Stiller under the title “A System for Summer Survival of Cool-Growing Orchids.”
I later wrote an article about that first wardian case in the American Orchid Society Bulletin of February 1989, with the title “Cool Masdevallias in Hot Houston.” At that time I was growing plants of approximately 65 different genera in the wardian case, including many pleurothallids and Masdevallias, New Guinea Dendrobiums, various Sophronitis species, and unusual genera such as Telipogon, Kefersteinia, and Promenaea.
The success of that first venture was evident in the fact that I received nearly 20 American Orchid Society awards, along with numerous ribbons and trophies from area shows. What I learned from that first attempt I have put into the building of a second wardian case, since we had to leave the first one behind when we moved overseas.
A case of this sort is not only ideal for keeping cool-growing species in a warmer climate, but for miniatures in general. Miniatures are particularly vulnerable, because of their size, to neglect, insects, excessive heat or cold, and whatever else might kill an orchid. In a case of this kind, temperature, humidity and light can all be carefully controlled and insects and disease can be almost completely eradicated. When you remember that a single snail can eat most of a tiny plant in one night, you will see the value of a system such as this.
The basic structure of the case has been the same with both. They are built primarily of aluminum and plexiglass and are very light-weight as a result. They stand on three-foot legs and have a growing area of approximately 30" x 54" x 36" with room at the top for lights and space for about 250 miniature plants. The front and sides of the cases are of plexiglass and there is also a plexiglass divider between the lights and the growing area to keep the heat generated by the lights out of the growing area. The back is a masonite panel with wire mesh attached for mounted plants. The cost of the first case was approximately $200 and of the second around $500, mainly due to the increased cost of materials, but still far cheaper than a commercially built case.

As can be seen from the picture, the upright elements of the case are 1.5" aluminum angle and the horizontal elements 2" aluminum angle at the bottom and 2" aluminum flat pieces at the top, all bolted together with 1/4" x 3/4" aluminum bolts. The area in which the lights are kept is surrounded by 3/4" thick wood panels, which provide support for the lights and make the case reasonably decorative. The bottom of the first case was made of a masonite panel painted and sealed with a liquid epoxy. That began to deteriorate after a number of years, in spite of the epoxy sealant and so the bottom of the second case is made from a multiwall polycarbonate sheet, the same kind used for greenhouses, carefully sealed along the edges. It is sufficiently strong by itself to bear the weight of the plants and shelves, but I provided additional support at the corners and across the middle to ensure that it would not bend or break. This also makes the second case even lighter in weight than the first. The bottom is also lined with a layer of plastic egg-crate to keep everything out of the water that sits in the bottom of the case.
The cooling system in Houston was nothing more than the household air-conditioning. Now, in Washington, it is an open window in the winter and the fact that the case is in a basement room in the summer. The lights in the first case were eight 48" fluorescent tubes, half grow-lights and half ordinary fluorescent bulbs. Now I have eight 48" high- output fluorescent tubes for light.
Both cases have had four fans, the first two 4" exhaust fans and two 3" muffin fans mounted on the inside of the case for air circulation. The second has no exhaust fans but has two 4" fans mounted under the shelving and two muffin fans mounted in the corners for air circulation. All the fans and lights run off 110vac current. In the first case, I tried to use a cloth panel that would draw up moisture from a reservoir and provide additional humidity on the side away from the exhaust fans, but found that impractical and unnecessary.
On the inside of the case there is not only wire mesh for hanging plants, but racks made from kitchen storage baskets and plastic egg crate that hold the plants at different levels. The storage baskets are the plastic-coated wire baskets or shelves that are available in any chain store. These allow both for drainage and for air movement below the plants.
The plants are watered with a tank sprayer nearly every day, which allows selective watering. Water on the plants themselves is not a problem since there is more than adequate air movement in the case. I have always used a pinch of fertilizer in each tankful and continue to do so. I’m not the kind to do everything scientifically and so have not used light meters or any other gauges except for a cheap temperature and humidity gauge.
The plants are grown in and on a variety of media, including bark mixes, locally collected sphagnum moss, small branches, tree fern (for mounts and as a medium in pots), and cork bark. Pots are also a variety of clay, ceramic and plastic, including both solid plastic and plastic net pots. I do try to adapt the medium and pot to the plant and to provide slightly drier conditions for those plants that like it drier.
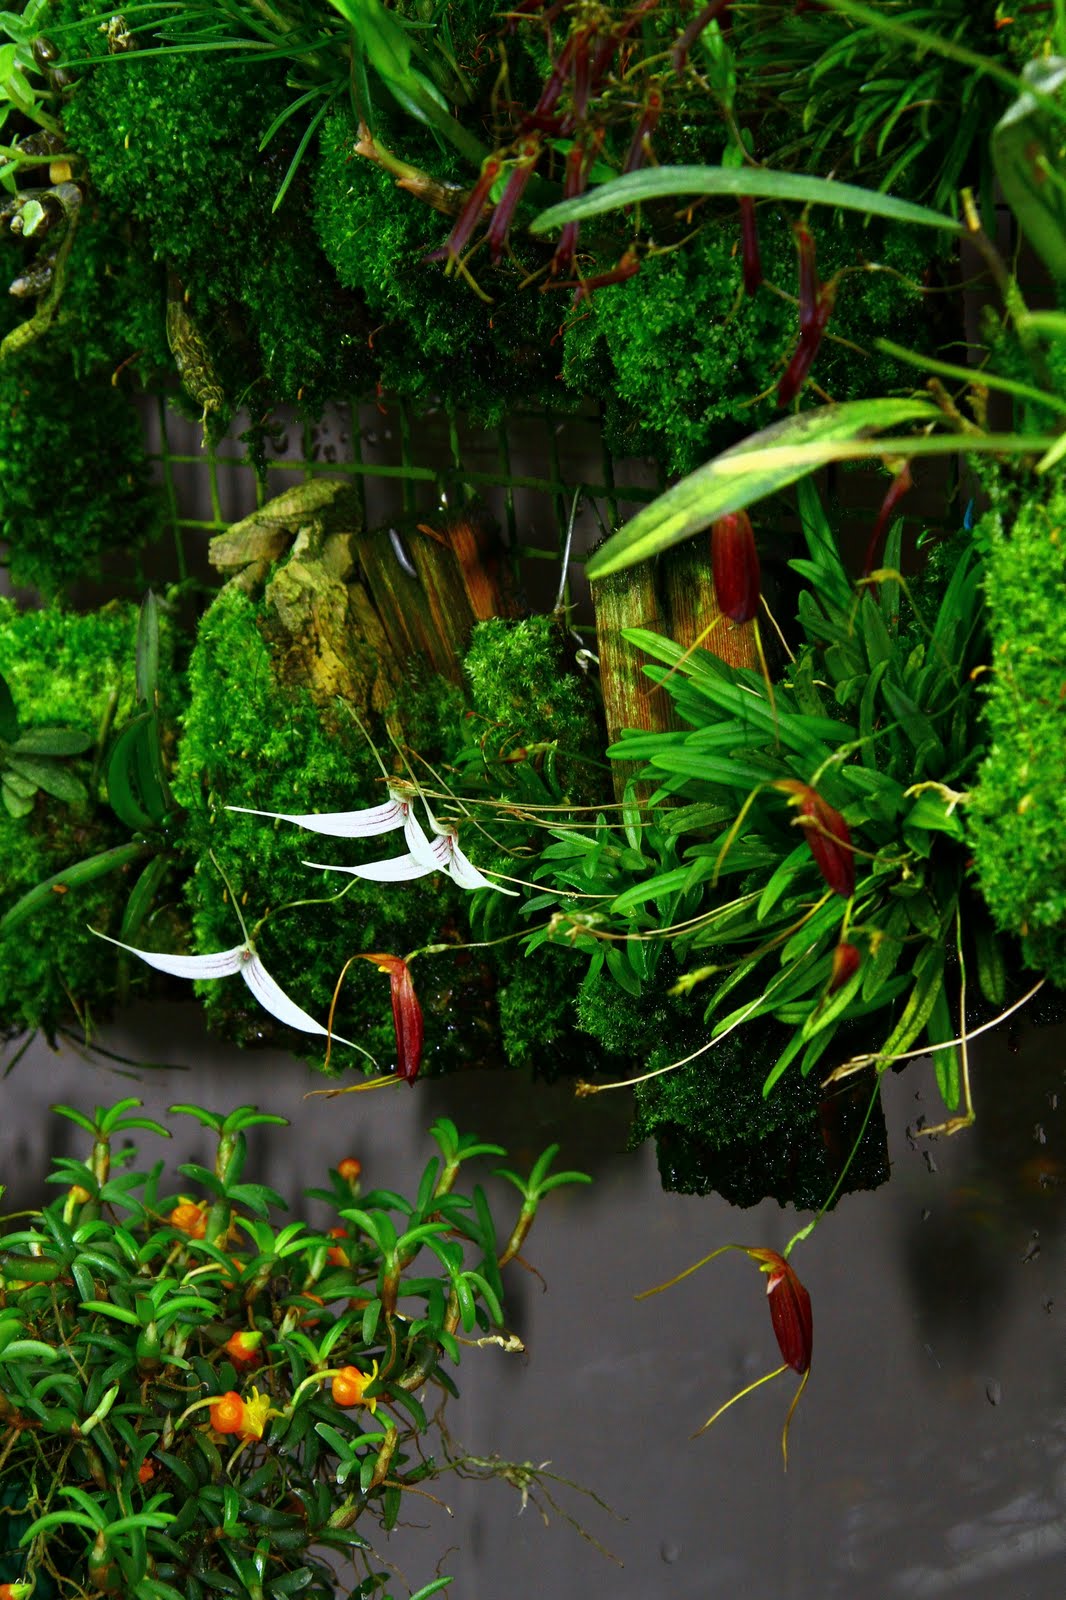
At present I have about 150 plants in the case,but have room for quite a few more. I have mostly Pleurothallids and New Guinea Dendrobiums, but also a miscellany of other species. Most do well, though some need to be moved to a location that suits them before they thrive - more or less light, more or less air movement, or a slightly cooler or warmer spot.




.JPG)
